Decorating cakes like a professional may seem daunting at first, but with this Cake Pen Decorating Guide, it doesn’t have to be! By using the right tools, techniques, and a sprinkle of creativity, you can transform any cake into a masterpiece. This article serves as your ultimate step-by-step guide to mastering cake decorating with cake pens. Cake Pen Decorating Guide
Let’s dive into this delicious journey, starting with the basics, and by the end, you’ll have the confidence to decorate like a pro!
Introduction to Cake Pens and Their Uses
Understanding What Makes Cake Pens Unique
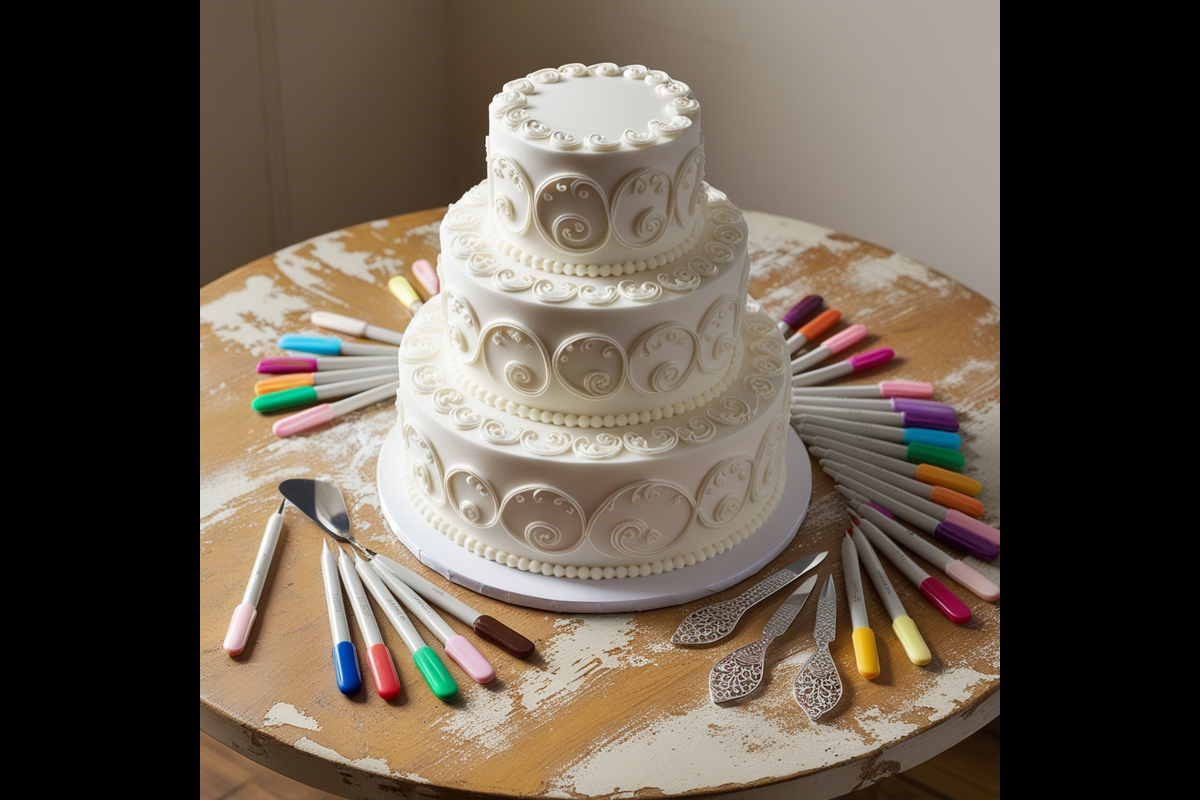
Cake pens are essential tools for any decorator, and this Cake Pen Decorating Guide explains why. These specialized edible markers let you draw directly on fondant, buttercream, or chocolate, offering unmatched precision. Whether you’re crafting intricate patterns or adding personalized touches, cake pens make it all achievable with ease.
The Advantages of Cake Pens for Your Designs
Why use a cake pen? The benefits are endless:
- Ease of Use: Perfect for beginners and pros alike, cake pens simplify the decorating process.
- Time-Saving: Drawing directly onto cakes eliminates the need for piping bags and additional tools.
- Versatility: These pens can be used on a wide variety of surfaces, from buttercream to fondant.
- Custom Creations: They empower you to add personalized messages and designs effortlessly.
If you’re aiming to create bakery-worthy designs without hours of effort, a cake pen is your secret weapon. It’s like having an artist’s brush in your hand—only this one is edible!
Essential Tools and Ingredients for Cake Pen Decorating
Must-Have Decorating Tools for Success
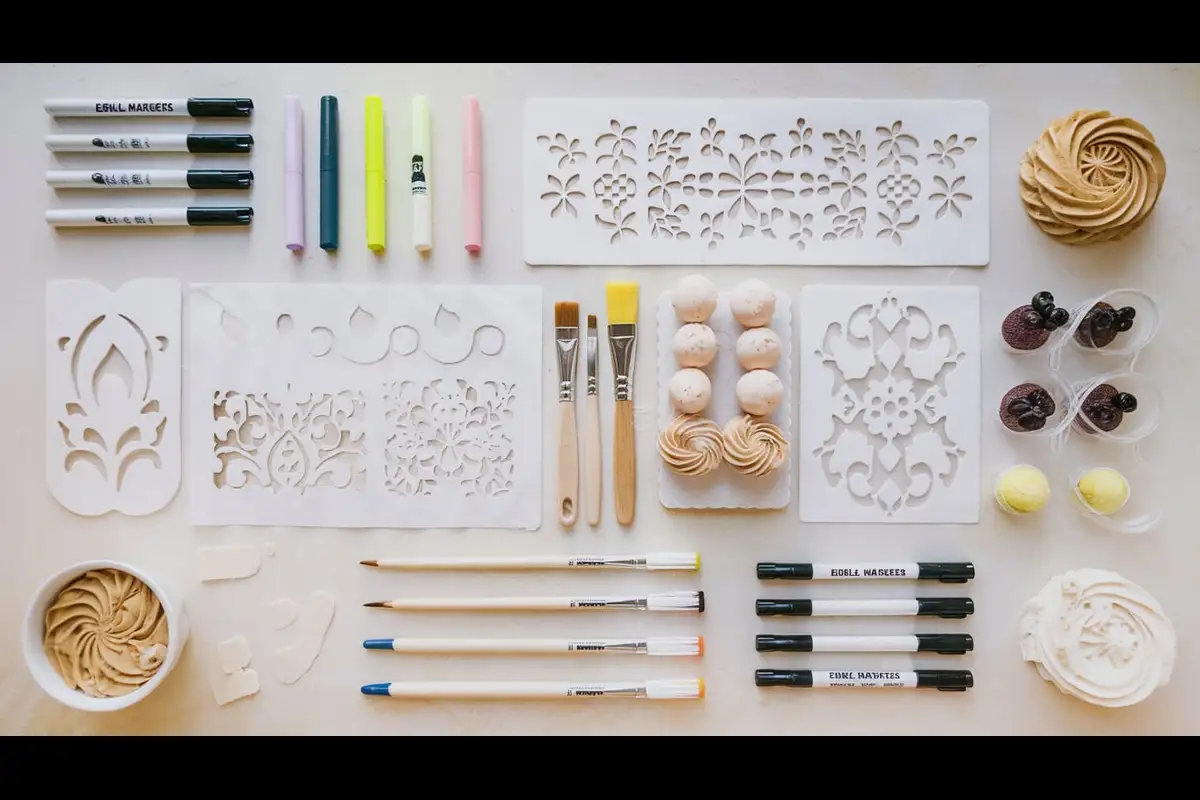
Embarking on your cake decorating journey requires a few essential tools to ensure success. First and foremost, you’ll need a set of cake pens or edible markers. These come in various colors and tip sizes, allowing for a range of designs. Additionally, having a rotating cake turntable can make decorating more manageable, providing easy access to all sides of the cake. A set of offset spatulas is also invaluable for applying smooth layers of frosting or fondant.
Moreover, don’t forget about parchment paper and piping bags; they are indispensable for transferring designs and adding intricate details. Lastly, investing in a good set of decorating brushes can help with shading and adding fine touches to your creations.
The Best Ingredients to Pair with Cake Pens
To achieve the best results with your cake pens, it’s crucial to work with the right ingredients. Start with a well-baked cake that has a firm surface; this ensures a stable canvas for your artwork. Covering your cake with a smooth layer of fondant or a crusting buttercream creates an ideal surface for drawing. However, ensure that the frosting has set properly to prevent smudging.
When selecting fondant, opt for high-quality brands that offer a smooth finish and are less prone to cracking. In addition, having a variety of gel food colors on hand can be useful for tinting fondant or adding extra details that complement your cake pen designs.
Preparing Your Cake for Decoration
Baking a Solid Cake Base for Decorating
Creating a beautifully decorated cake starts with baking a solid base. Thus, choose a cake recipe that yields a firm yet moist texture, as this will hold up better during the decorating process. For inspiration, consider exploring this collection of cake recipes to find the perfect match for your project.
Once you’ve selected your recipe, ensure that you follow it precisely, paying close attention to measurements and baking times. After baking, allow the cake to cool completely on a wire rack. Cooling is essential; otherwise, decorating a warm cake can lead to melting frosting and unstable structures. Once cooled, level the cake layers using a serrated knife to create an even surface, which is crucial for a professional finish.
Applying a Smooth Crumb Coat
A crumb coat is a thin layer of frosting applied to the cake to seal in crumbs, providing a clean base for additional icing and decorations. To apply, start by placing a dollop of frosting on the center of your cake and spread it evenly using an offset spatula. Work from the top down to the sides, ensuring a thin, uniform layer.
Although this initial coating doesn’t need to be perfect, its primary purpose is to trap any loose crumbs. After applying the crumb coat, refrigerate the cake for about 30 minutes to allow the frosting to set. Once firm, you can apply the final layer of frosting or fondant, resulting in a smooth, crumb-free surface ready for your cake pen artistry.
Choosing the Right Cake Pen for Your Design
Types of Pens: Gel, Edible Ink, and More
Selecting the appropriate cake pen is crucial for achieving your desired design. Primarily, there are two main types: edible ink pens and frosting decorating pens. For example, edible ink pens resemble regular markers but contain food-safe ink, making them ideal for writing or drawing directly onto fondant or royal icing surfaces.
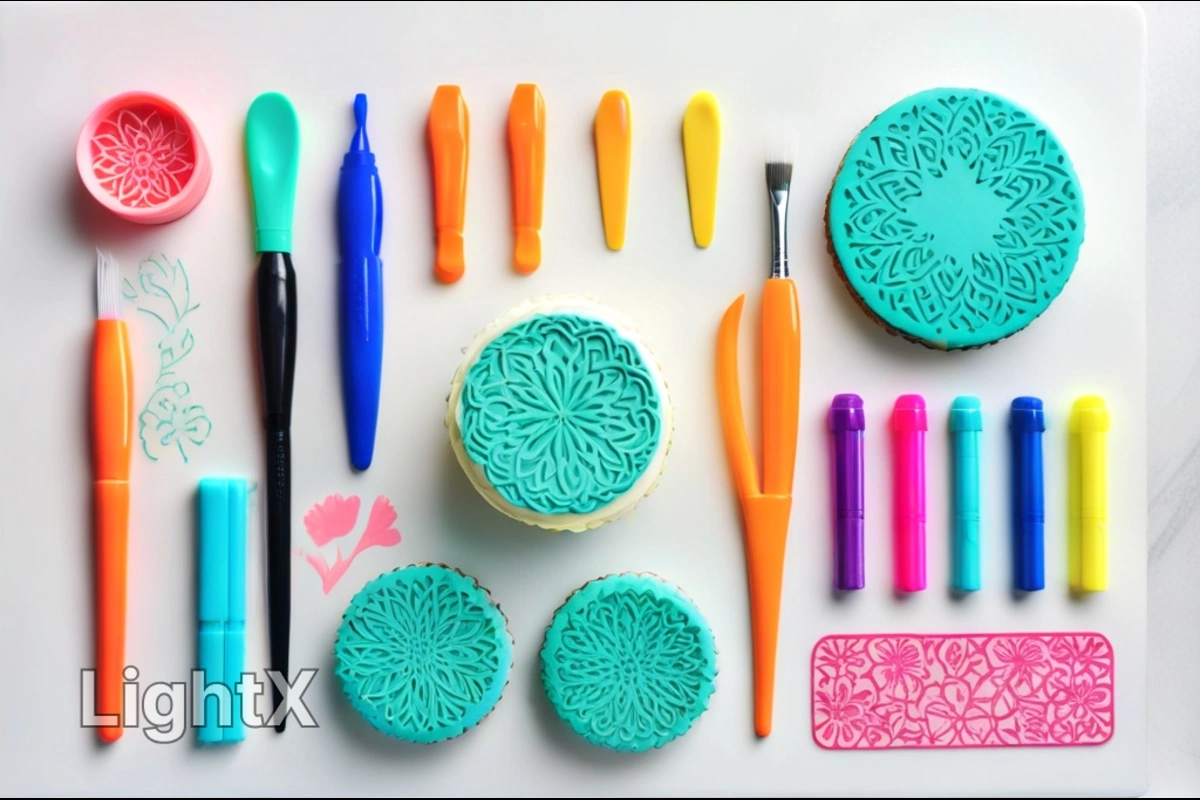
On the other hand, frosting decorating pens are filled with icing or gel, allowing for more textured and three-dimensional designs. Thus, they are excellent for creating raised decorations, borders, or embellishments that require a bit of volume.
Picking the Perfect Pen for Your Project
When choosing the right tool for the job, this Cake Pen Recipe: Decorating Guide highlights how gel pens can enhance textured designs.
Additionally, ensure that the pen’s color palette aligns with your design scheme. While some projects benefit from vibrant hues of gel-based pens, others might require the subtle tones achievable with standard edible inks. Therefore, always verify that the pens are compatible with the surface you’ll be decorating, as some work better on fondant, while others are suited for buttercream or royal icing.
Mastering Basic Cake Pen Techniques
Drawing Freehand with Ease
Freehand drawing with cake pens allows for unparalleled creativity and personalization. To begin, ensure your cake’s surface is smooth and dry, providing an ideal canvas for your artwork. Start with simple designs, such as hearts or stars, to build confidence.
However, practicing your design on parchment paper before transferring it to the cake is highly beneficial. This practice not only helps refine your technique but also ensures accuracy. Remember, imperfections can add a charming, handmade touch, so don’t stress over minor flaws.
Stencils: A Shortcut to Precision
If freehand drawing feels intimidating, stencils are excellent tools for achieving precise and consistent patterns. First, select a stencil that complements your cake’s theme. Then, gently place the stencil on the cake’s surface, ensuring it lies flat to prevent ink or frosting from bleeding underneath.
Once the stencil is positioned, use your cake pen to fill in the cut-out areas with steady strokes. Afterward, carefully lift the stencil to reveal a clean, professional-looking design. Stencils are particularly useful for repetitive patterns or when uniformity is essential. Furthermore, they can save time and reduce the margin for error, making them a favorite among both novice and experienced decorators.
Advanced Decorating Techniques with Cake Pens
Crafting 3D Effects and Textures
To take your decorating skills to the next level, experimenting with 3D effects and textures is essential. For instance, using a combination of cake pens and other tools, you can create raised designs that pop off the surface of your cake. First, outline your desired shape with an edible ink pen. Next, layer gel or frosting pens over the outline to add depth and dimension.
Additionally, try stippling the surface with small dots or lines to mimic natural patterns, such as wood grain or fabric. Adding metallic or glitter effects can further elevate your design, offering a touch of elegance for wedding cakes or special celebrations.
Mastering Gradient and Blending Techniques
Gradient effects, or ombré designs, are a stunning way to incorporate multiple colors seamlessly. To start, select two or more complementary shades of edible ink. Then, draw the darkest color at the base of your design and gradually transition to lighter tones as you move upward.
Using a soft-bristle decorating brush, gently blend the edges where the colors meet to create a smooth fade. This technique works beautifully for designs like sunsets, rainbows, or floral arrangements. Moreover, blending colors allows for limitless creative possibilities.
for more ideas on decorating cakes, you can visit this link.
Common Mistakes to Avoid When Using Cake Pens
Fixing Smudging and Bleeding Issues
Smudging and ink bleeding are common challenges when using cake pens, but they’re easy to prevent with a few key tips. Always ensure your cake’s surface is completely dry before decorating; otherwise, moisture can cause the ink to spread uncontrollably.
Additionally, applying gentle pressure while drawing helps maintain clean, crisp lines, especially on fondant or hardened frosting. If a smudge does occur, use a clean, damp brush to gently lift the ink off the surface. In some cases, a small dab of powdered sugar or cornstarch can effectively cover up blemishes.
Ensuring Safety and Quality with Edible Ink
When working with edible pens, safety should always come first. Only use food-grade products labeled specifically for cake decorating to ensure they are safe for consumption. Furthermore, store pens in a cool, dry place to maintain ink quality and prevent drying out.
Before each use, test the pen on parchment paper to check for smooth ink flow. Ultimately, investing in high-quality cake pens ensures both decorating success and the safety of your creations.
If you’re looking for an example of irresistible cake, check out this Show-Stopping Dessert
Step-by-Step Guide to Decorating a Cake with a Cake Pen
Planning a Design That Stands Out
Before diving into decorating, it’s crucial to plan your design carefully. A well-thought-out layout not only saves time but also minimizes errors. For example, start by visualizing your design or sketching it on paper.
Once your plan is ready, prepare your cake’s surface. Ensure it is smooth and dry, as an uneven surface can make the decoration process challenging. With your cake pen in hand, begin by outlining the major elements of your design to establish structure.
Executing Your Vision with Precision
When it’s time to bring your plan to life, use steady hands and light pressure to draw your design with the cake pen. If your design involves intricate details, work from the center outward to avoid smudging.
Layering is another effective technique; start with the base shapes and gradually add fine details. Moreover, pausing frequently to assess your progress allows you to make adjustments as needed. For added dimension, use multiple shades or textures to create a stunning visual effect.
By following the steps in this Cake Pen Recipe: Decorating Guide, you can confidently plan and execute intricate designs like a pro.
Tips for Maintaining and Storing Cake Pens
Cleaning Tips to Keep Pens in Top Shape
Keeping your cake pens in top condition is essential for consistent performance. After each use, wipe the tips with a damp paper towel to remove any residue. This practice not only prevents clogging but also ensures smooth ink flow for your next project.
However, avoid submerging cake pens in water, as this can damage their internal mechanisms. Instead, focus on cleaning only the tip. Proper cleaning not only prolongs the pen’s lifespan but also maintains vibrant, uncontaminated colors.
Storage Solutions for Long-Lasting Quality
Storing your cake pens correctly can make all the difference in preserving their quality. Always cap the pens tightly after use to prevent drying out. Furthermore, store them horizontally in a cool, dry place away from direct sunlight, as extreme temperatures can affect the ink’s consistency.
For long-term storage, consider placing your pens in a sealed plastic bag with a silica gel packet to absorb moisture. By taking these steps, you’ll ensure your pens are ready to use whenever creativity strikes.
Nutritional Content of a Decorated Cake (Per 100g)
Cake Pen Decorating Guide doesn’t just make them visually appealing; it’s also important to consider the nutritional aspect of your creation. Below is the approximate nutritional breakdown of a decorated cake (including frosting and cake pen decorations) per 100 grams:
| Nutrient | Amount (per 100g) |
|---|---|
| Calories | 380 kcal |
| Carbohydrates | 56 g |
| Sugars | 36 g |
| Protein | 4 g |
| Fat | 15 g |
| Saturated Fat | 9 g |
| Fiber | 1 g |
| Sodium | 200 mg |
Note: Nutritional values can vary based on the type of cake, frosting, and decorations used. Cake pens typically add negligible calories, but they can contribute to sugar content depending on the type of edible ink.
FAQs :
Do Cake pens have CBD in them?
No, traditional cake pens used for decorating do not contain CBD. Cake pens are edible markers filled with food-safe ink specifically designed for decorating cakes, cookies, and other baked goods. However, products labeled as “Cake” in the vaping industry may include CBD or THC, depending on the manufacturer and intended use. Always check product labels carefully.
How much is a 2-gram disposable?
The price of a 2-gram disposable vaping device can vary based on the brand, quality, and location. Typically, these devices range between $20 and $50. It’s essential to purchase from reputable sellers to ensure safety and product quality.
Are Cake vapes safe?
The safety of Cake vapes depends on the brand and adherence to quality standards. Products that meet regulatory standards and are purchased from licensed dispensaries are generally safer. However, counterfeit or unregulated vaping products can pose health risks. Always verify the source and ensure lab testing for safety.
Why is my Cake pen hard to hit?
If your Cake pen is hard to hit, it could be due to a clogged mouthpiece, a low battery, or improper storage. For vaping devices, clogs can occur when residue builds up, so cleaning the mouthpiece may help. If you’re referring to edible cake pens, ensure the pen’s tip is clean and the ink flow is smooth by testing it on parchment paper before use.


